
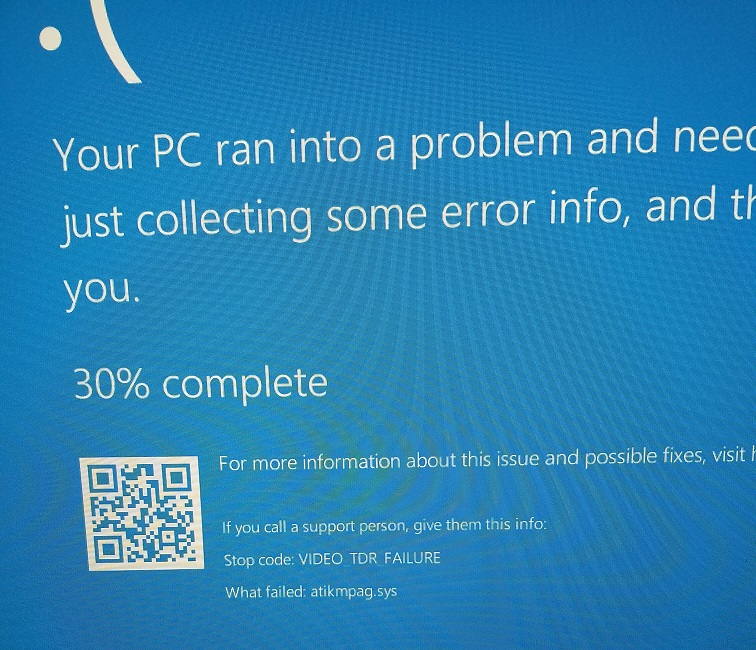
Video TDR Failure or Video Scheduler Internal error is most probably due to the problem inside your display driver of the graphics card. It is also called the blue screen error. This error causes lots of trouble to the user. So we will discuss a solution to remove this error. Mostly this error is encountered by the users using the NVIDIA graphics card. Now let us discuss in detail about the error.
First of all, let us know TDR, this relates to Timeout, detection, and recovery components in Windows. This issue comes on almost all operating system on which NVIDIA graphic card is installed and graphic driver that includes Windows Vista, Windows 7, Windows 8 and Windows 10.
How to Fix Video TDR Failure Error on Windows 10
The issues can be faulty graphic cards or graphic drivers. The first naive approach would be to solve and the other will be expensive because you have to buy the compatible graphic card. You can purchase the ATI Graphic Card instead of original NVIDIA card which can be costly. We have compiled various solutions for fixing Video TDR Failure error. Let us dive deep into this and explore every possible option.
Method #1 Check Windows Update
Microsoft one of the biggest tech giants is using the term Patch Tuesday more commonly now a days. This means that they will release a new update every second or fourth Tuesday of every month. This will help you in identifying any malwares and protecting your OS. We suggest you to use legal Windows OS and software in order to run the update automatically and minimize your errors.
So if you are regular user of Microsoft driver for the graphic card then you need to click Windows Update. This will show how to check updates on Windows 101703 version. The procedure is somewhat similar to the any other OS. So you need to follow some steps in order to proceed further.
Step 1: Press Windows and I key together to start Windows Settings.
Step 2: Press Update and security option.
Step 3: Select Windows Update option
Step 4: If there is any update available then you need to install that.
Step 5: Restart your PC to check if the error is removed or not.
Method #2 Install the Latest graphic driver from official website
We suggest you to uninstall the driver you are currently using and install the latest driver NVIDIA website if you don’t want to install the mocrosoft driver. We will let you know how you can download the latest driver for graphic card . We request you to not download the drivers for Windows Vista or for Windows 7. So follow the steps written below.
Step 1: First of all open the Internet browser. It can be either Chrome, Mozilla Firefox, Edge or any other.
Step 2: Open this link and then try downloading the Display Driver Uninstaller.
Step 3: Start the Display Driver Uninstaller.
Step 4: Select the option of clean and restart. After this the graphic driver will be automatically uninstalled.
Step 5: Search for the NVIDIA website on the link.
Step 6: Choose proper graphic card under manual driver search option
Step 7: Then you will be able to see the results. You need to download the latest version of graphic drivers. In our case this is GeForce 385.12 Driver- Beta
Step 8: Select the second driver in list, which is GeForce Game ready- WHQL
Step 9: Select Agree and download option later on. You have to confirm all the details further for the license of Customer use of NVIDIA.
Step 10: Install the latest graphic driver and restart your Windows
Method #3 Roll back the Driver Update
We all know that most of the applications are compatible with Windows 7 and others with Windows8 or Windows 8.1. So we suggest you to download the new graphic driver for Windows 7 and also newer OS. For example, if you are using Windows 10 with 32 bit then you need to download the driver for 32 bit and it should be Windows 7 32bit.
Method #4 Change Global Settings in Nvidia Control Panel
When you have installed the latest driver for your graphic card then you will be required to install additional NVIDIA software. We have to make some changes in that to proceed further.
Step 1: Press Start menu and write NVIDIA Control panel there.
Step 2: Start NVIDIA Control panel.
Step 3: Go to 3D settings.
Step 4: Select manage 3D settings.
Step 5: Next you need to choose Global settings tab.
Step 6: Inside the preferred graphic processor option select High performance NVIDIA processor.
Step 7: Go to Power management mode next and then make it to prefer maximum preference.
Step 8: Go to vertical Sync and turn it off.
Step 9: Next step would be to close NVIDIA Control Panel.
Restart your PC to check if the error is removed or not.
Method #5 Enable NVIDIA NView
You need to install NVIDIA Nview Manager whenever you install the latest NVIDIA driver. This helps you in increasing the productivity in a professional way. Few users have solved the problem by using this technique. So follow these steps to proceed further.
Step 1: Press Windows key and R together.
Step 2: Write the Control panel and then hit enter.
Step 3: Filter the icons using large icons.
Step 4: Start NVIDIA Nview Desktop Manager.
Step 5: Click enable there.
Step 6: Save the changes.
Step 7: Restart your PC and check if the error is removed or not
Step 8: You can now enjoy Windows without BSOD TDR FAILURE.
Method #6 Exclude nvlddmkm.sys from scans
Whenever any antivirus starts scanning your hard disk and it includes nvlddmkm.sys in it then the Windows can stop working because of the BSOD issues. So you need to exclude nvlddmkm.sys from scans of the antivirus. We will tell you how you can excude file using Windows defender.
Step 1: Press the start menu and write Windows defender there.
Step 2: Right click onto Windows defender and run it as administrator.
Step 3: Press yes to confirm running Windows defender as administrator.
Step 4: Open settings from the top right corner.
Step 5: Press Add and exclusion under Exclusions.
Step 6: Go to driver’s folder and exclude this file.
Step 7: Now check if the new file is added or not.
Step 8: Restart your PC and check if the error is removed or not
Step 9: You can now enjoy Windows without BSOD Video TDR Failure.
Method #7 Copy Another nvlddmkm.sys
You will recreate nvlddmkm.sys file again in this. We will show you the steps to do so.
Step 1: Press Windows and E key together to start Windows Explorer or File Explorer.
Step 2: Go to the location C:\NVIDIA now.
Step 3: Choose the file named nvlddmkm.sys and copy that.
Step 4: Paste that file into the root of C.
Step 5: Now go to location.
C:\Windows\System32\drivers
Step 6: Find the nvlddmkm.sys
Step 7: Rename this file to nvlddmkm.sys.old
Step 8: Now start the start menu and open Command prompt
Step 9: Run it using administrator.
Step 10: Now write nvlddmkm.sys and then hit enter. This will help you to unzip the nvlddmkm.sys and will eventually create a new file.
Step 11: Copy the contents of new file into.
C:\Windows\System32\drivers
Step 12: Restart your PC and check if the error is removed or not.
Step 13: You can now enjoy Windows without BSOD TDR FAILURE.
Method #8 Change Windows Theme
This Method is unique but few users have found it useful. So we will tell you how to change Windows theme on Windows 7
Step 1: Right click on the Desktop and select properties.
Step 2: Change the Windows theme to Windows 7 Basic.
Step 3: Restart your PC and check if the error is removed or not.
Step 4: You can now enjoy Windows without BSOD TDR FAILURE.
Method #9 Uninstall Intel Dynamic Platform and Thermal Framework
Intel Dynamic Platform and Thermal Framework is new software which is used to control CPU. This software helps in controlling CPU power/ performance and fan speeds for better results during any task. So if it is present in your PC then you must delete it. Follow the steps to do the same:
Step 1: Press the Windows key and R key together.
Step 2: Write appwiz.cpl and then hit enter.
Step 3: Choose Intel Dynamic Platform and Thermal Framework.
Step 4: Right-click on the option of Intel Dynamic Platform and Thermal Framework and select uninstall.
Step 5: You need to wait until that process is over.
Step 6: Restart your Windows.
Step 7: Now enjoy your Windows without BSOD Video TDR Failure.
Method #10 Disable Windows 10 Fast startup
We can use this option of the fast startup by Windows. So just follow the below-written steps.
Step 1: Press Windows and X key together.
Step 2: Write control panel and then hit enter.
Step 3: Sort the icons by their category.
Step 4: Select hardware and sound.
Step 5: Select the power option next.
Step 6: Press Choose what the power buttons do option.
Step 7: Press Change settings that are currently unavailable.
Step 8: Deselect the option of the turn on a fast startup.
Step 9: Save the changes made and then restart your PC.
Method #11 System Restore
There are many times when even after the Windows update or any other change our PC stops working. The solution to this problem is to get the Windows back to its previous state. So we recommend you to restore the Windows previous state using System Restore. If you know the exact date when your computer was working without any problem then revert back to that date. You must follow below-written steps to restore the system
Step 1: Press Windows logo and then hit enter.
Step 2: Write rstrui.exe and then hit enter.
Step 3: Choose a different restore point from the options and then click next.
Step 4: Select proper checkpoints and click next later.
Step 5: Finish after all this.
Step 6: Restart your PC and check if the error is removed or not.
Step 7: You can now enjoy Windows without BSOD TDR FAILURE.
Method #12 Downgrade to previous Operating System
We all know that most of the applications are compatible with Windows 7 and others with Windows8 or Windows 8.1. So we suggest you download the new graphics driver for Windows 7 and also newer OS. For example, if you are using Windows 10 with 32 bit then you need to download the driver for 32 bit and it should be Windows 7 32bit. You can downgrade your OS and make it compatible with Windows. You will require a bootable Windows DVD or USB Flash drive for this.
Method #13 Reinstall Windows 10 to Another Edition
Many users have tried this solution also and this has worked for them. In this, we can solve the problem by changing the Windows version. Because in some older versions BSOD error is still there this causes the error. So based on these we are suggesting you to reinstall Windows.
Method #14 Disable Audio Device in BIOS or UEFI
You need to disable the audio device in your system in order to remove BSOD. You require accessing your BIOS or UEFI. And how you can access, that depends on the vendor. You need to press F2 during boot for Dell. Similarly, for HP you are required to press F10. We all advise you to go through the technical documentation of all these before proceeding further.
Step 1: Turn on your PC.
Step 2: While the booting process is going to press Del or F2 to access BIOS or UEFI.
Step 3: Enter F7 to go to advanced mode.
Step 4: Select Ok to confirm access to this advanced mode.
Step 5: Select Advanced and select Onboard devices configuration.
Step 6: Next you need to disable two audio devices that are HD Audio Controller and Realtek Lan Controller
Step 7: Hit ESC and after that save changes and then reset.
Step 8: Restart your PC and check if the error is removed or not.
Step 9: You can now enjoy Windows without BSOD TDR FAILURE.
When your PC is having problems with the BSOD error one of the best possible solutions to fix this is to update BIOS or UEFI firmware. We will tell you how you can update the BIOS. We all advise you to go through the technical documentation of all these before proceeding further.
Step 1: Press Windows and R key together.
Step 2: Write msinfo32.exe and then hit enter.
Step 3: Go to BIOS Version/Date.
Step 4: Start the internet browser.
Step 5: Open ASUS’s website and download new BIOS version there.
Step 6: Restart your PC now.
Step 7: During booting press F2 or Delete to access BIOS or UEFI
Step 8: Click F7 to go to advanced mode.
Step 9: Choose update film from a flash drive and then click install.
Step 10: Restart your PC and check if the error is removed or not.
Step 11: You can now enjoy Windows without BSOD Video TDR Failure.
Method #16 Clean Dust from Motherboard and Fans
Many times it is found that the PC ports, slots, and fans can be dirty which causes a major issue. So removing them is the best option. So it would be better to do a PC service repair.
Method #17 Change Cable
Many users have found that changing cable can help in this regard. So if you are currently using DVI or VGA then please change them to HDMU cable. In case your PC supports only VGA or DVI then try to change them from DVI to VGA or vice versa.
Method #18 Change Graphic Card
We have come to our last solution. The last Method is to change the graphic card. You can choose either NVIDIA or AMD. Both of them have their own pros and cons. We suggest you to buy a compatible graphic card with your motherboard and with your OS. So please consider these points before buying the graphic card.
Conclusion
So starting from checking the Windows update and installing the latest drivers we discussed many solutions to fix this error. We hope that you might have liked the article and find something useful from this. If you have any suggestions or any other Method apart from the above-mentioned methods please feel free to contact us and share your thoughts.


")


